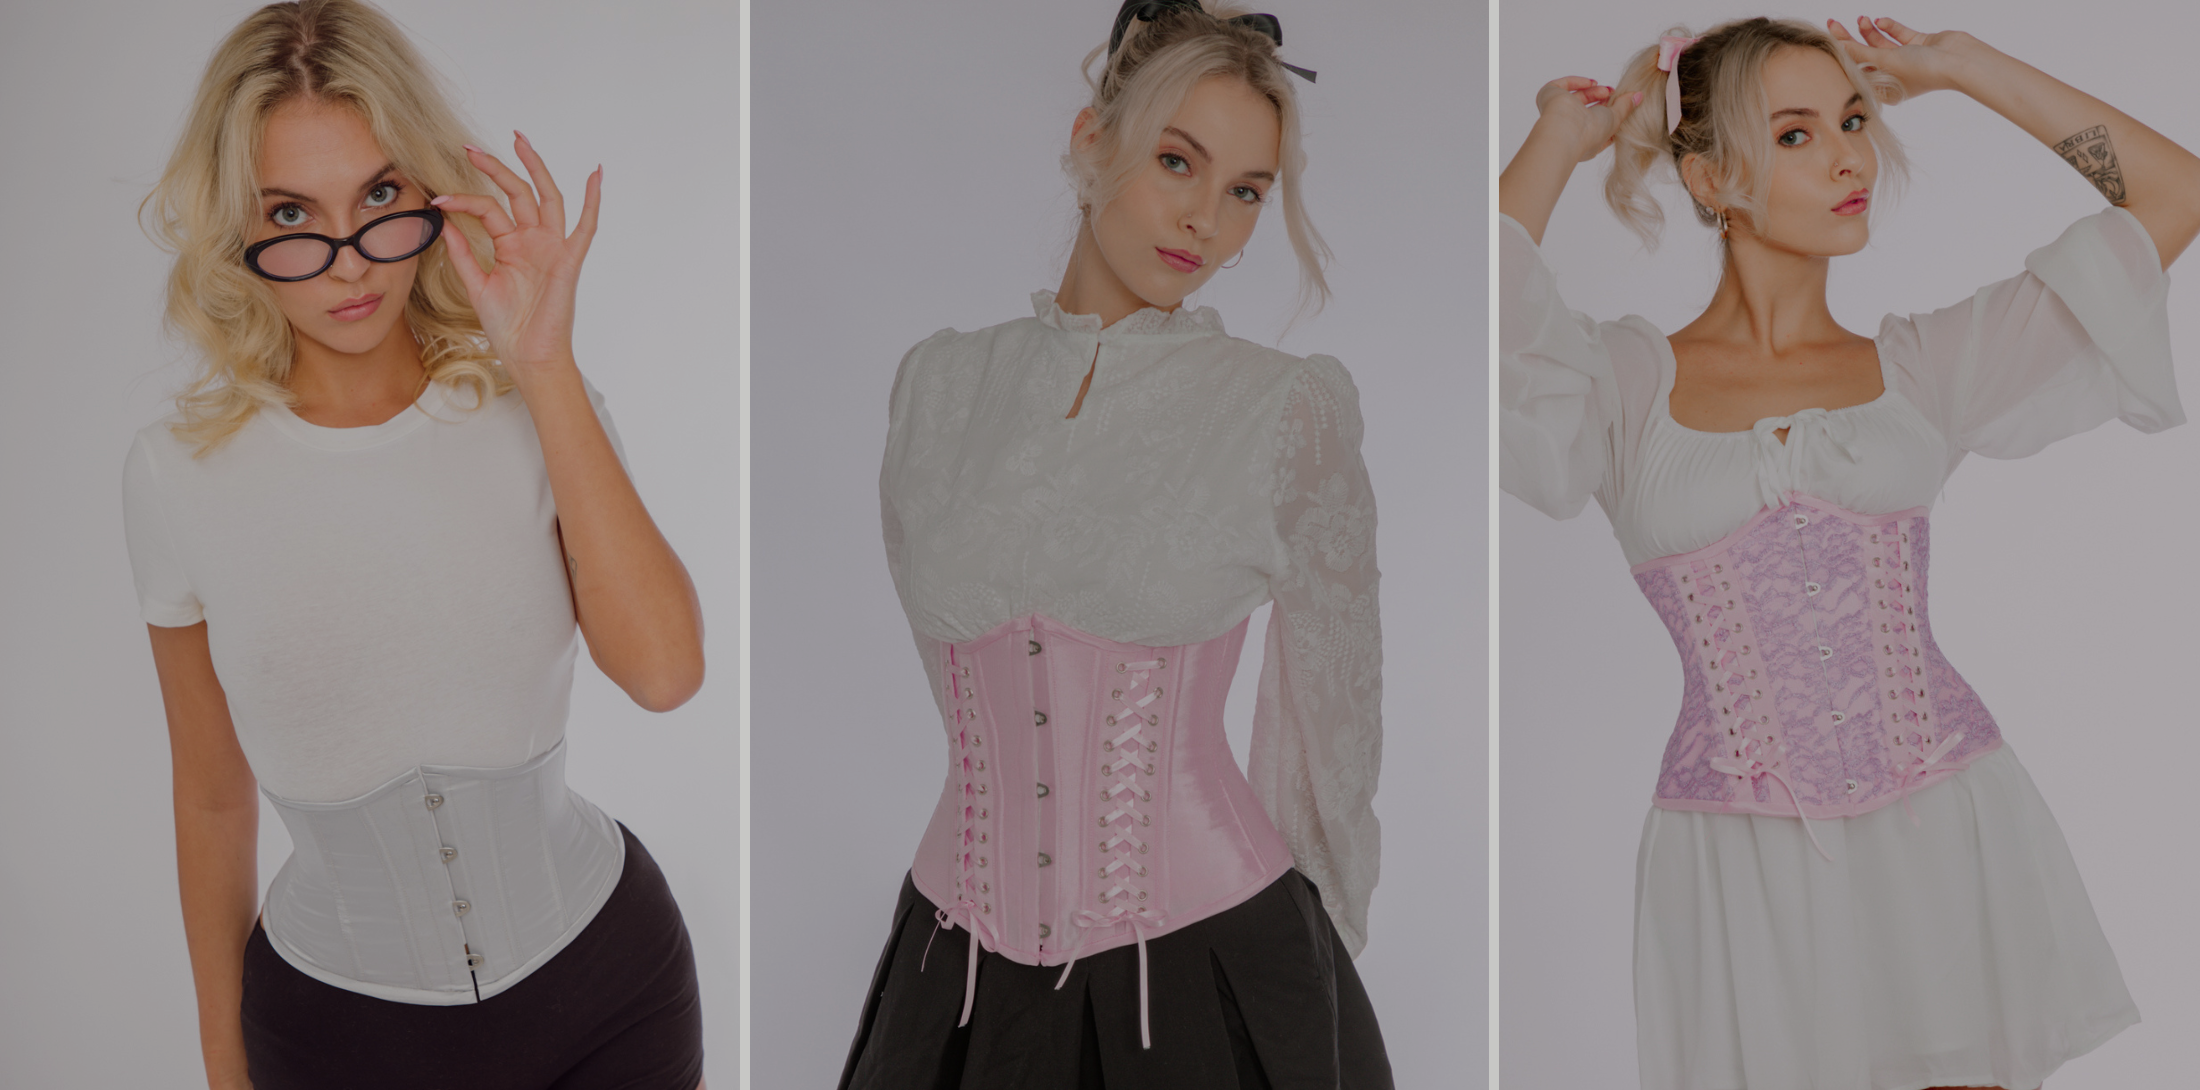
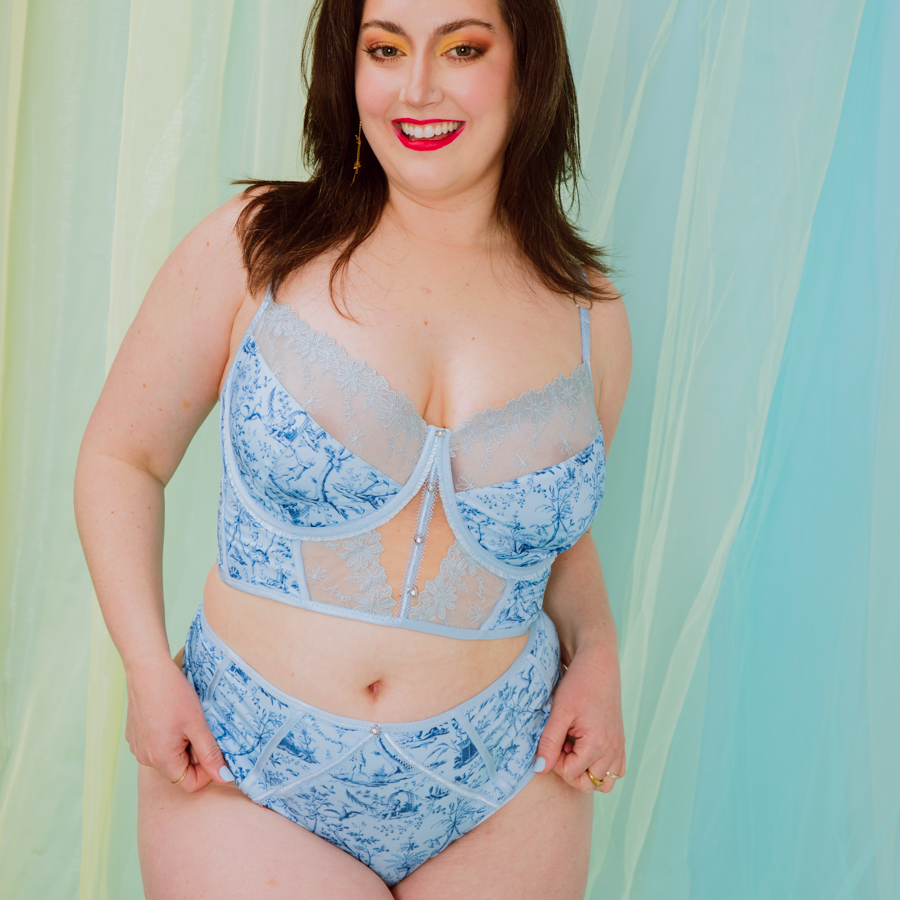
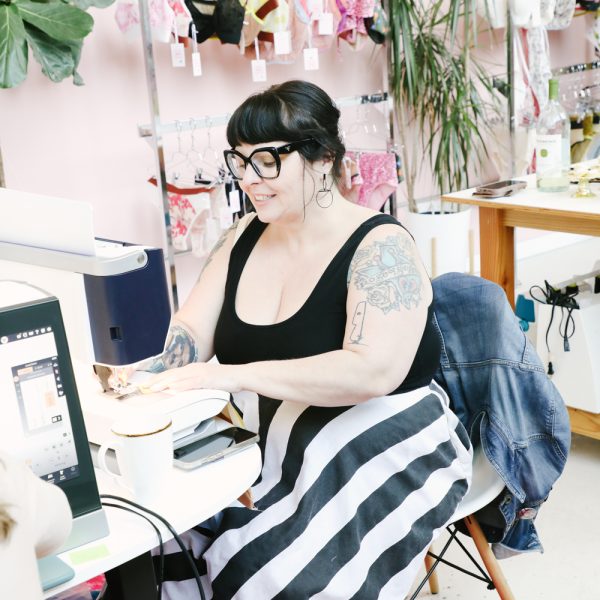
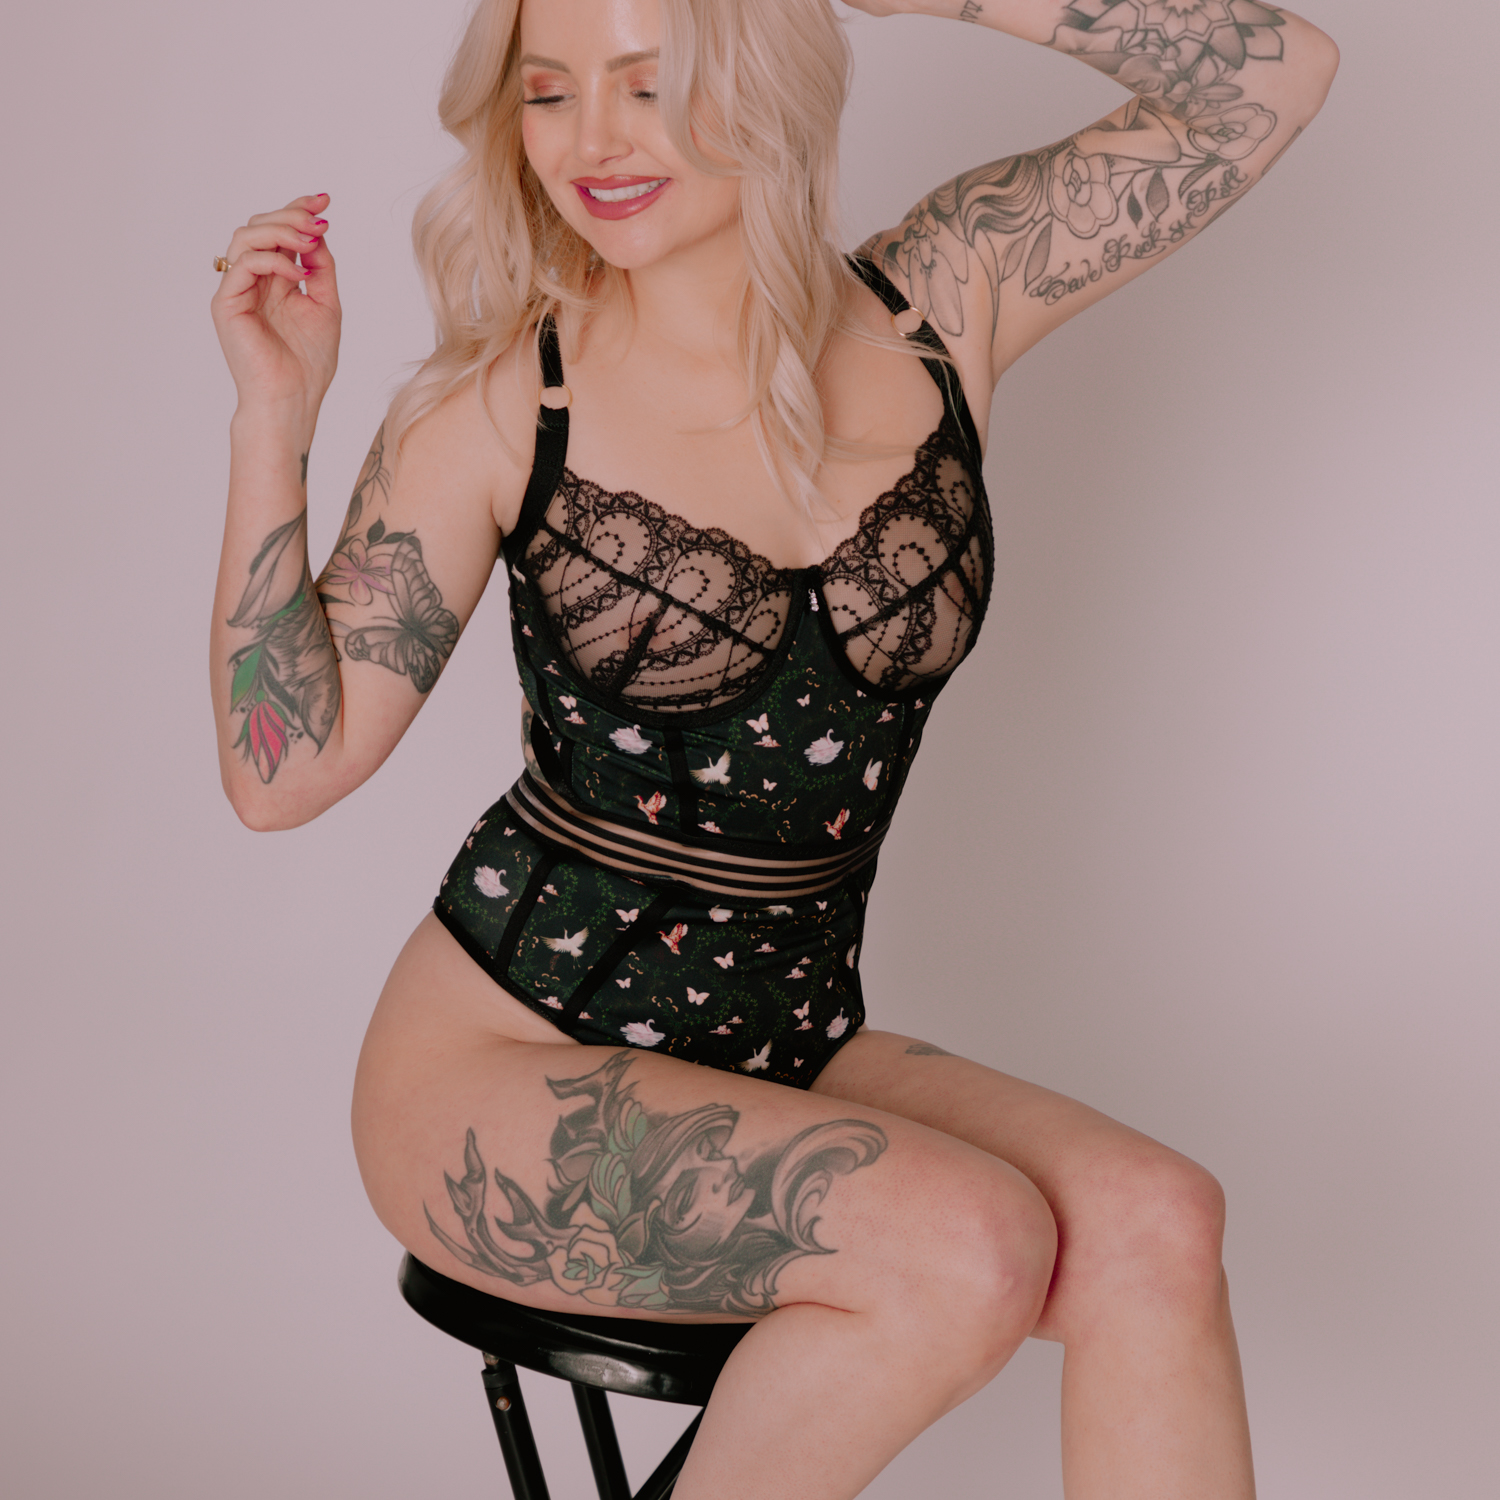
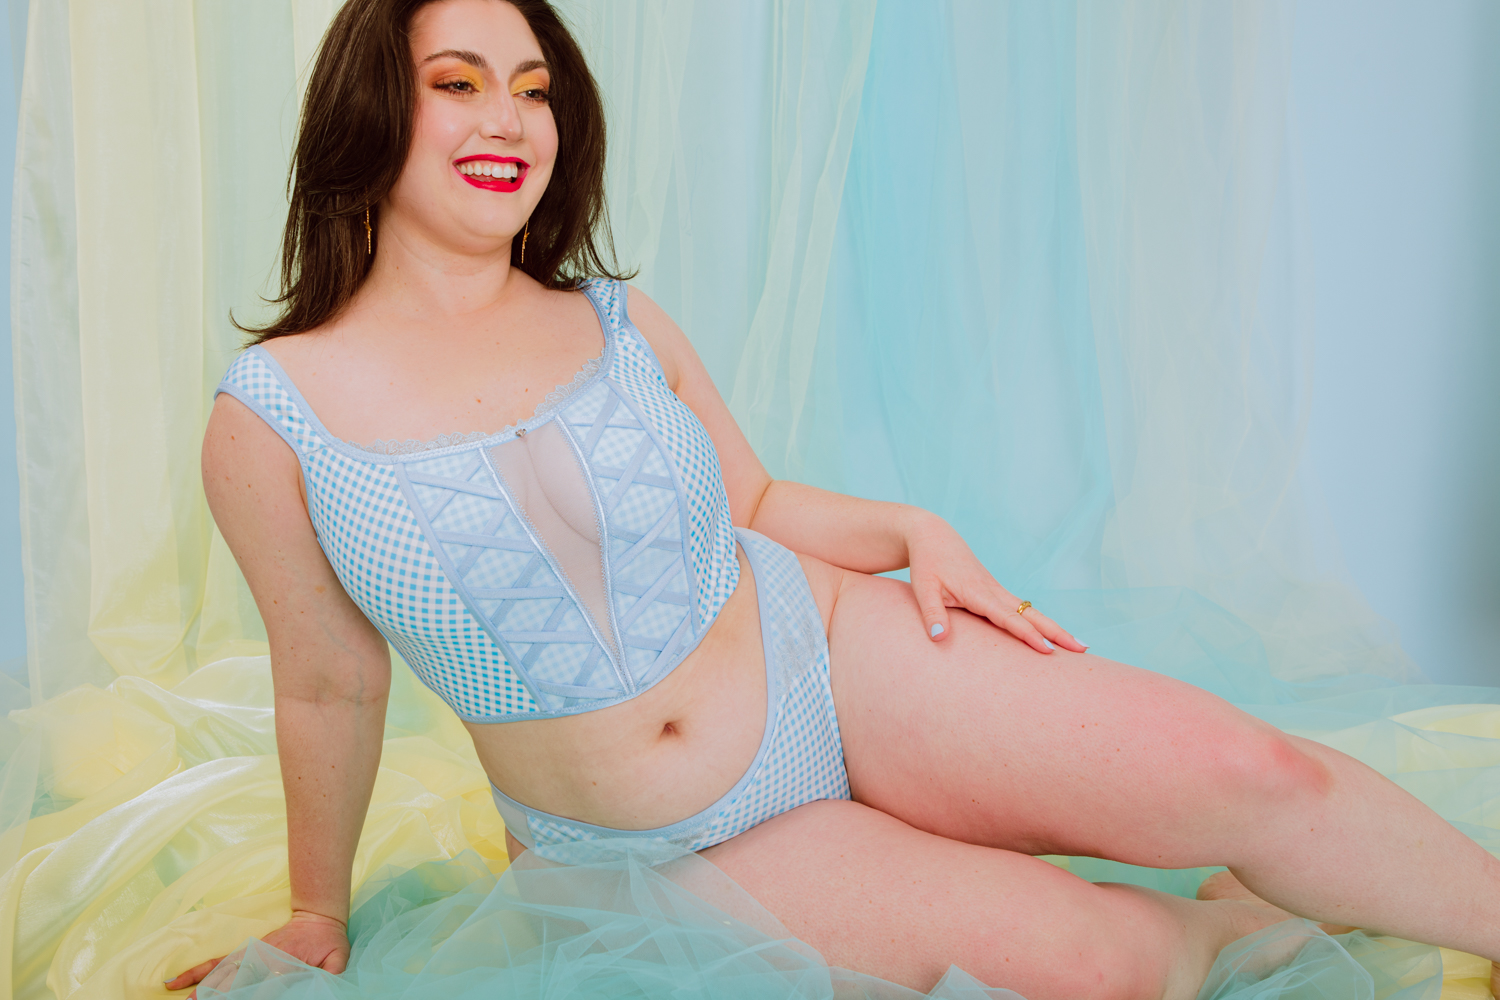
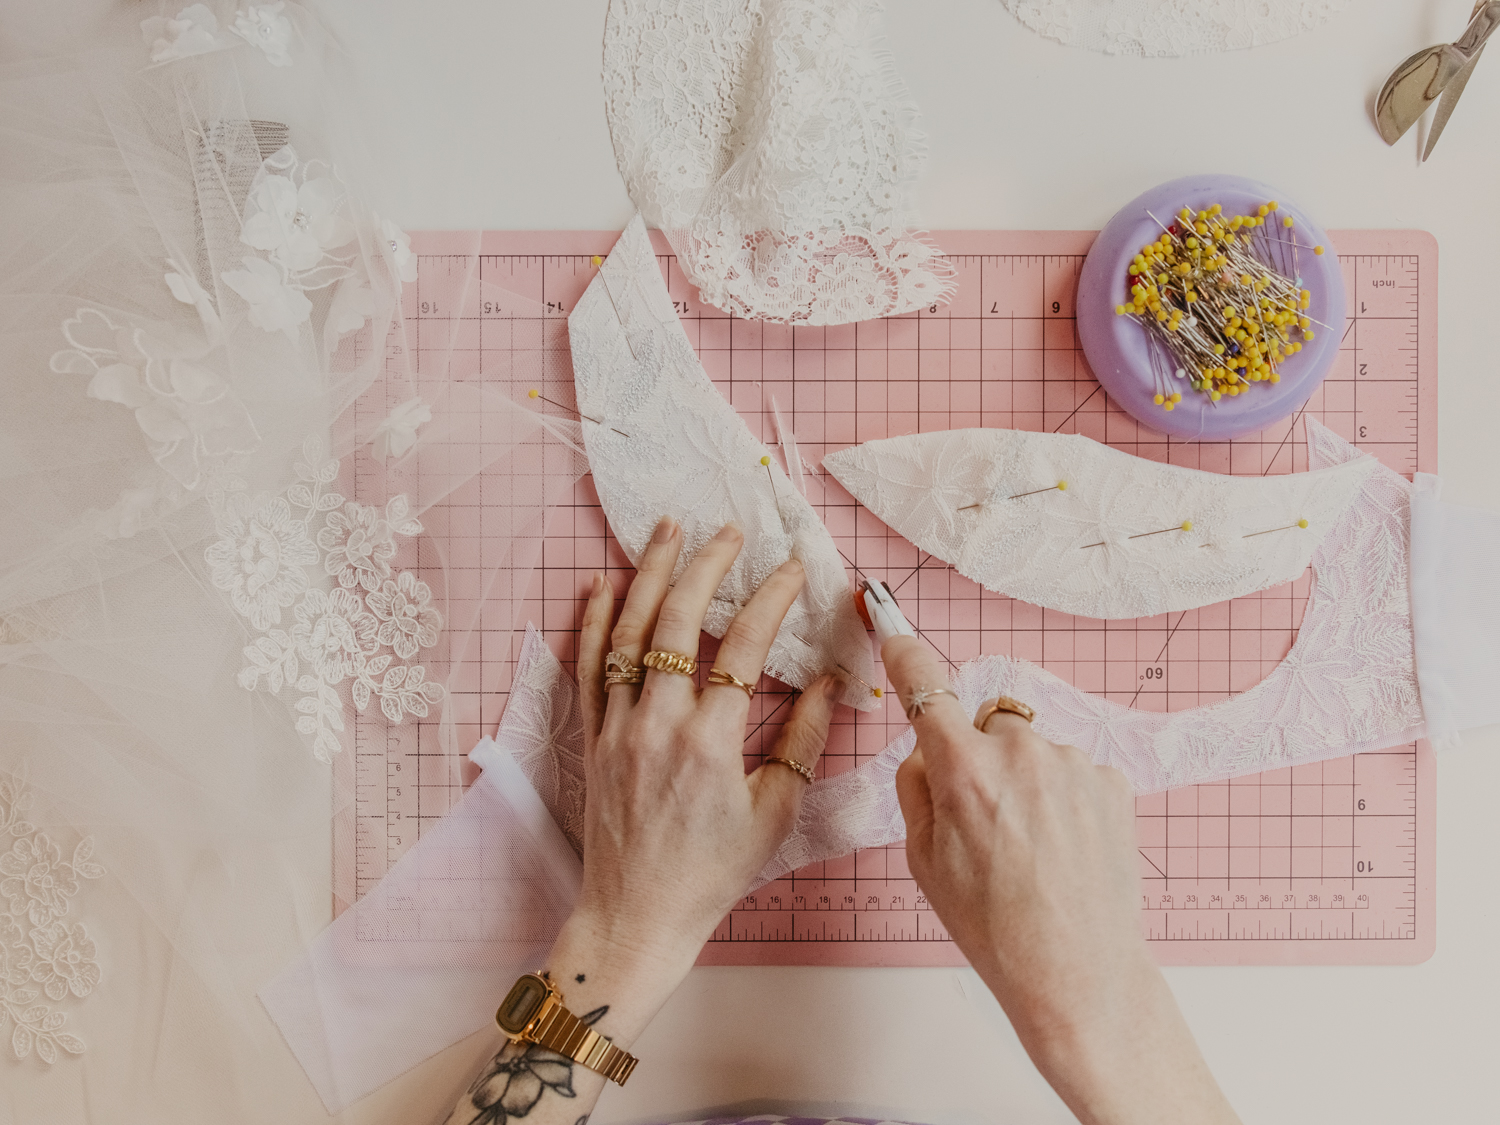
Madalynne’s first book, SEW LINGERIE, is now available! Published by C&T Publishing, this book has everything for new and experienced DIY-ers wanting to get into sewing lingerie, activewear or swimwear.
Sewing lingerie can be an intimidating world full of jargon and terminology that might confuse even an experienced sewist. With SEW LINGERIE, it becomes accessible and fun.
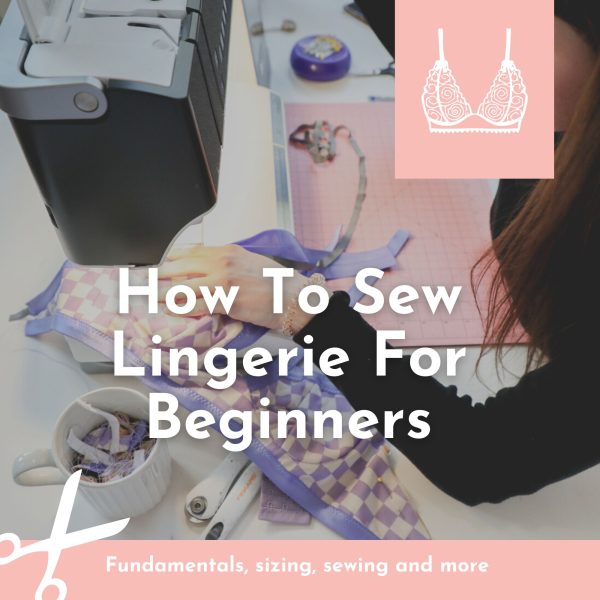
In the book, readers will learn the foundations of DIY lingerie, swimwear and activewear–from the history of lingerie, types of styles, and different fabrics and elastics, to how to determine your size and start making your own garments.
Each book includes 11 projects (PDF patterns) with step-by-step instructions that range from basic and comfy to sexy and fun, beginner to immediate and advanced.
ORDER NOW
WATCH SEW ALONGS
SHOP DIY KITS


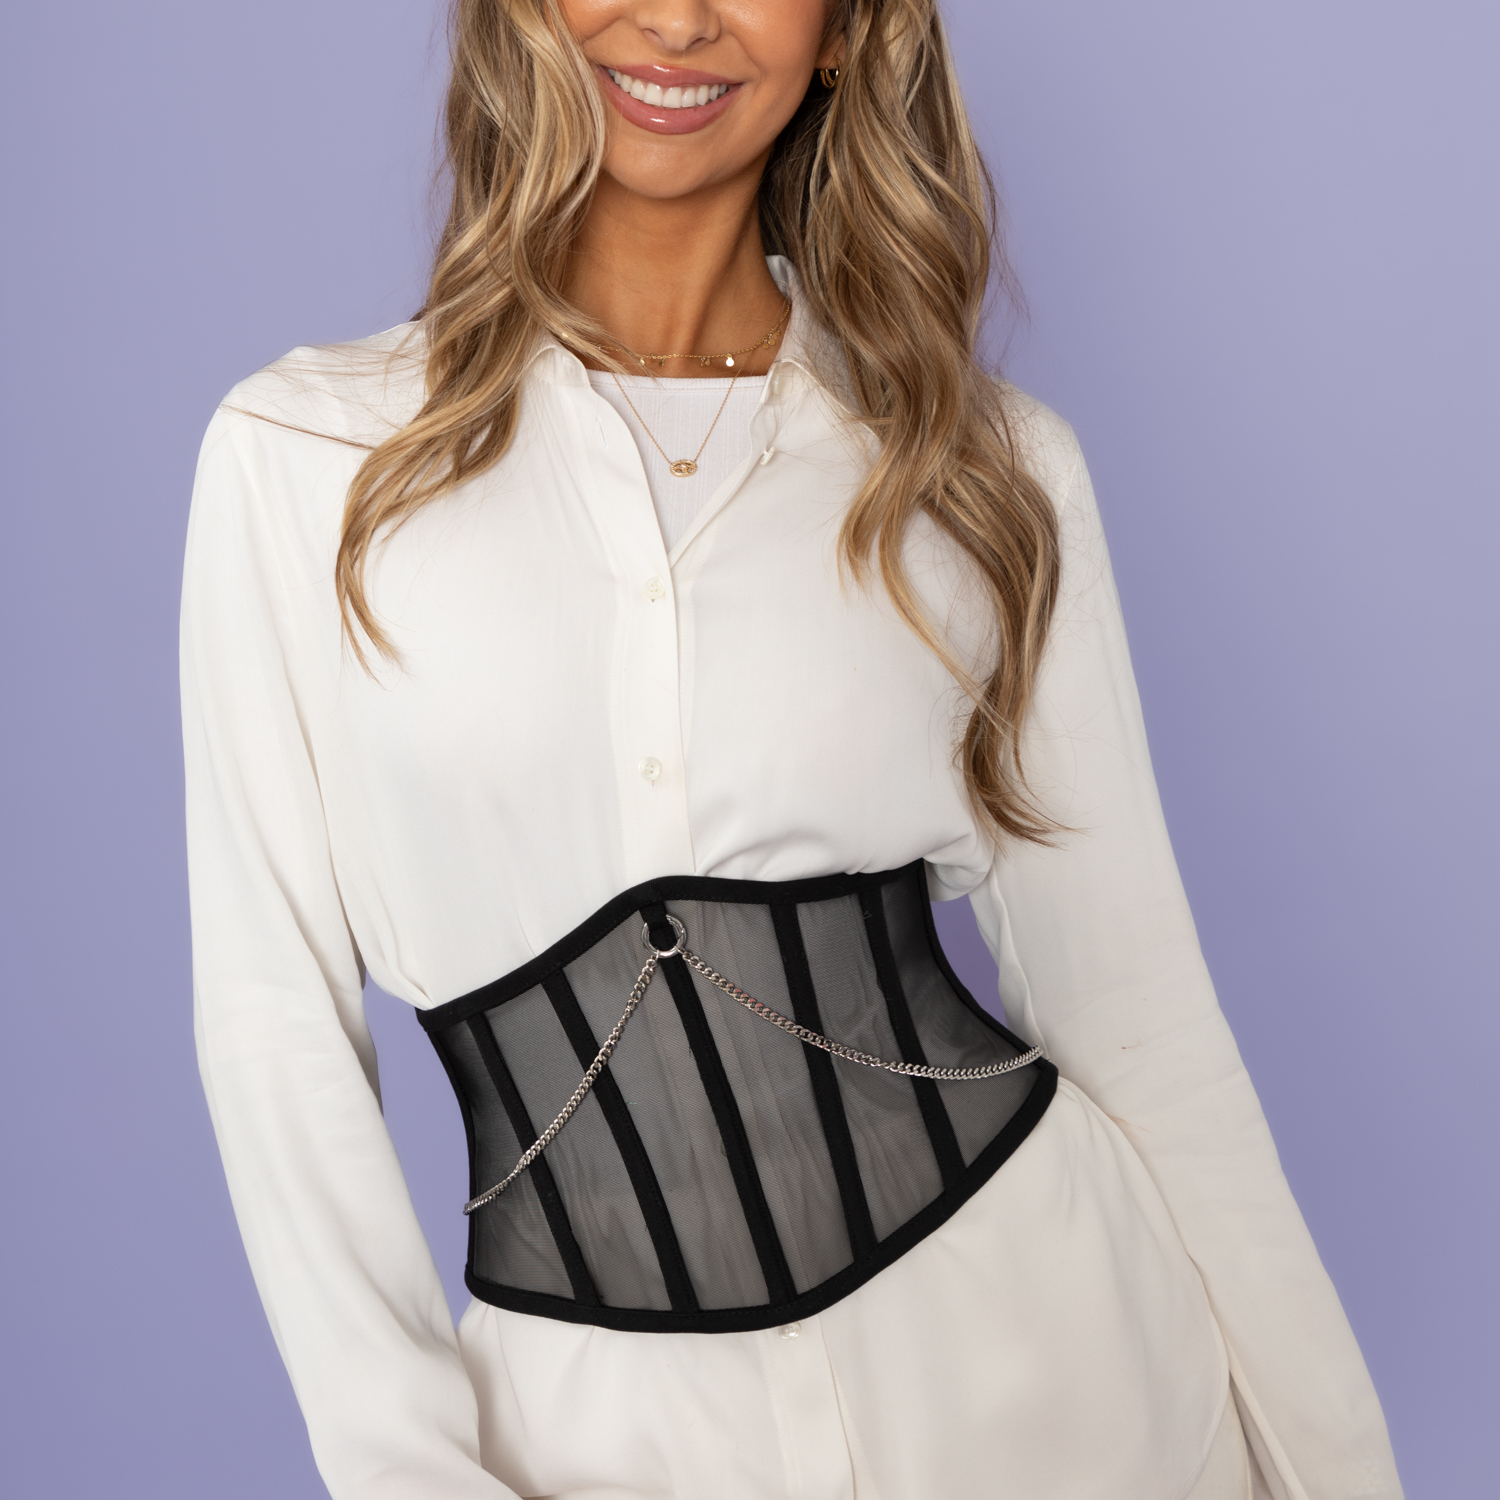
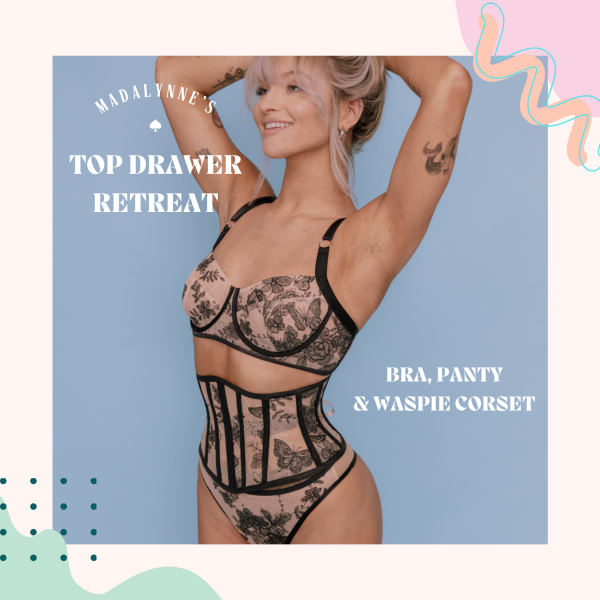


&url=https://madalynne.com/product/top-drawer-one-of-a-kind-boudoir-sewing-retreat/&media=https://madalynne.com/wp-content/uploads/2016/12/Top-Drawer-Retreat-5.5-×-5.5-in-1024x1024.png)
&url=https://madalynne.com/product/bra-making-one-one/&media=https://madalynne.com/wp-content/uploads/2016/06/bra-making-madalynne-april-16-683x1024.jpg)